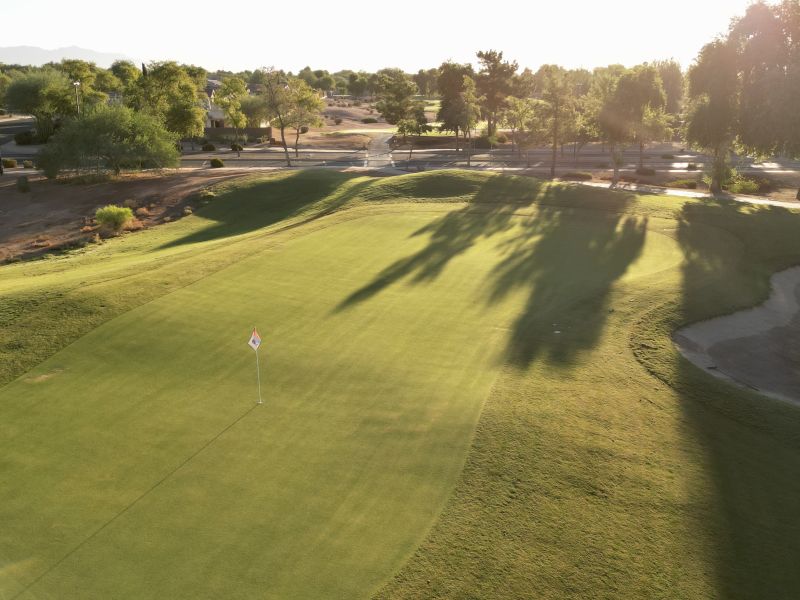
Project Background
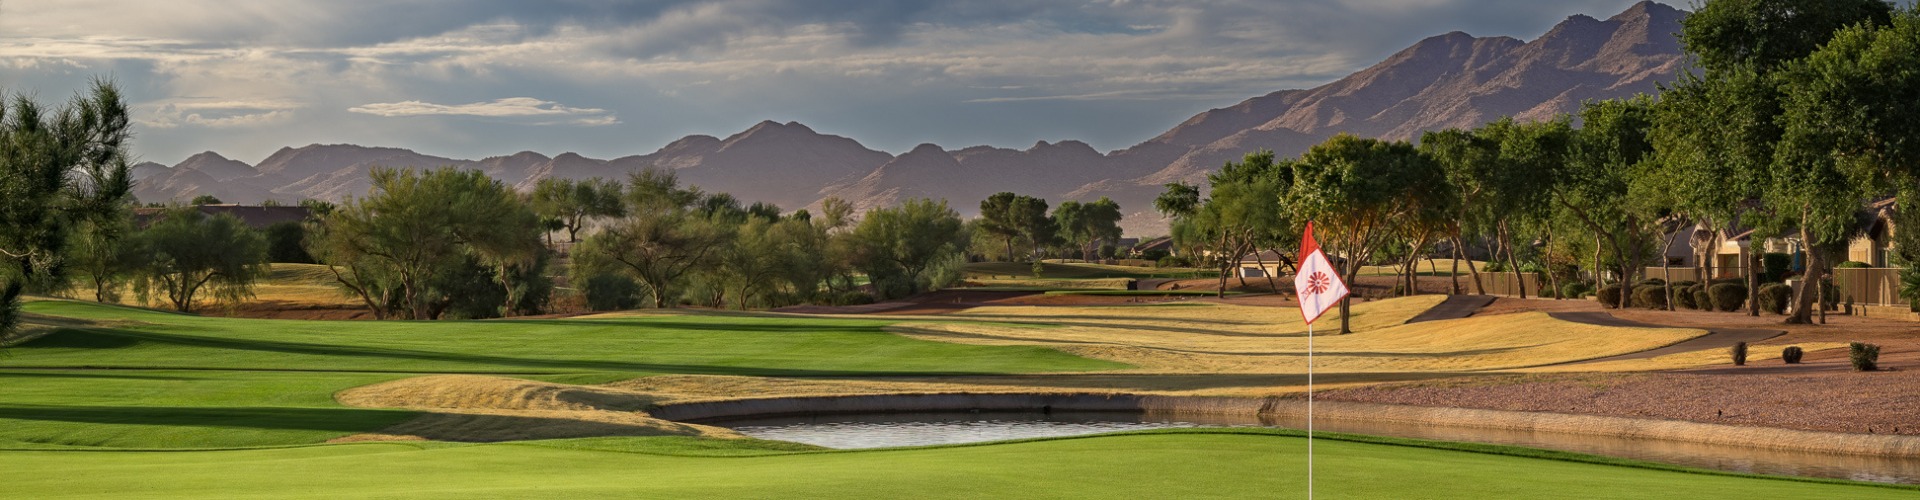
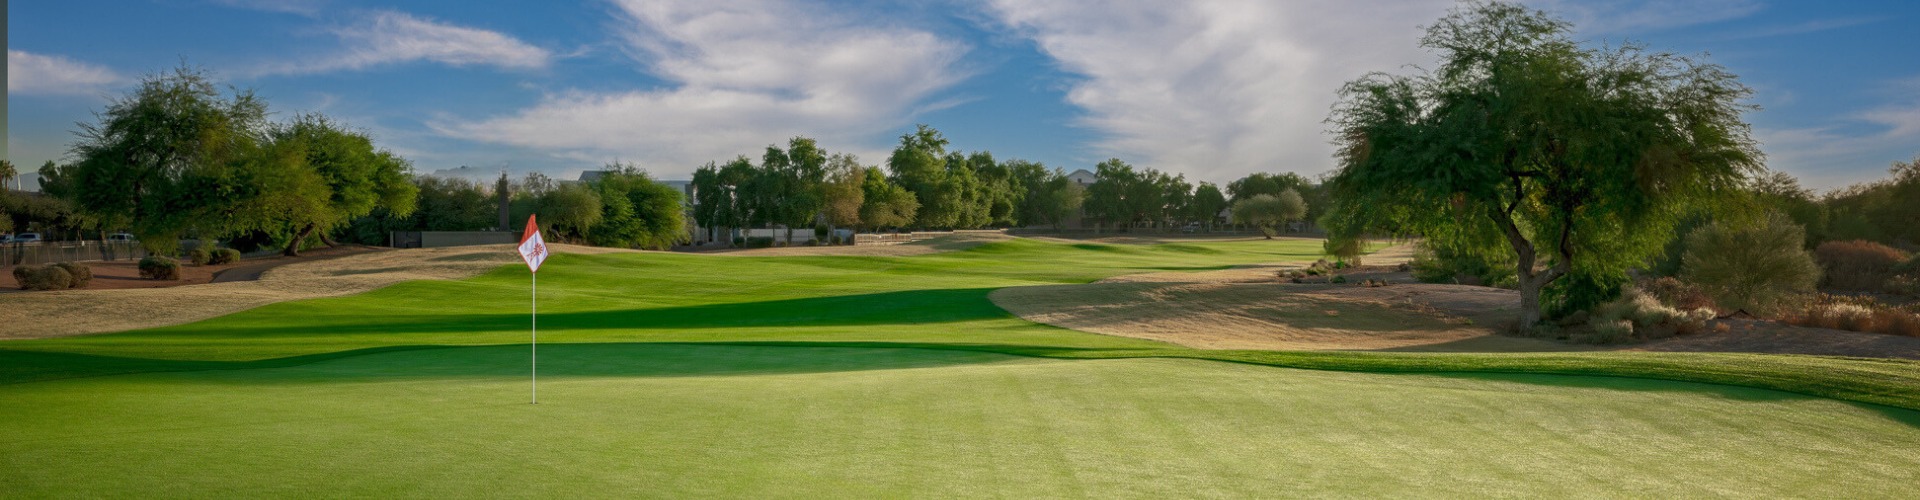
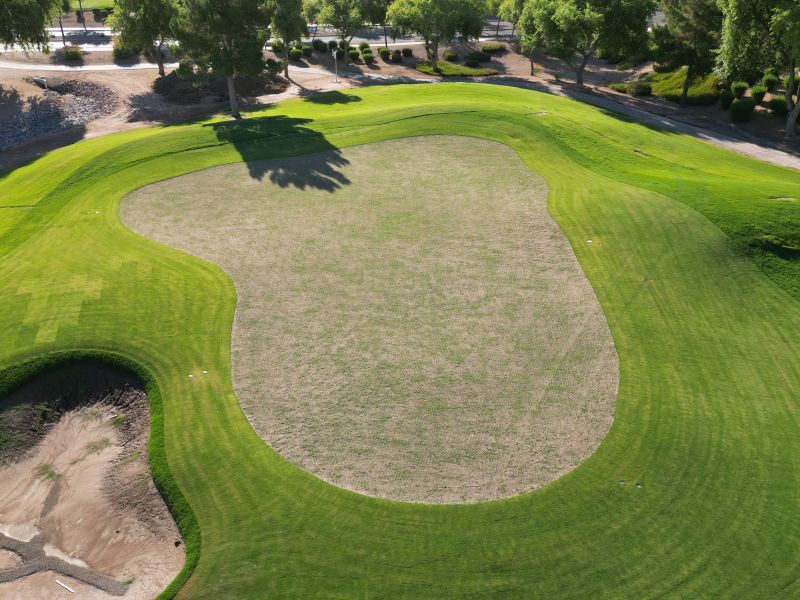
The greens at Power Ranch are original to the golf course and were built in 1998. During the design and conception phase of the golf course construction, the decision was made to install “push up greens”. This option is more a affordable construction method when building greens compared to USGA or Modified USGA Spec Greens. Push up greens are simply native soils “pushed up” to create the shape and elevation of the green. After shaping the native soil, there is a 4–6-inch layer of sand put on top of the native soil and the grass is planted. Initially, both construction methods will support healthy, pure putting surfaces. The major difference is the ongoing care and maintenance of the USGA green is less than the push up green and generally allows for deeper root growth which reduces disease pressure and drain more effectively creating a very good, consistent surface.
Over the last 4+ years, the maintenance of the greens has become much more difficult to manage. To compensate for the Bermuda health decline, Power Ranch Golf Club has spent unnatural amounts of time and money to continuously rehabilitate the turf to provide an adequate putting surface during the summer months. The Bermuda base is critical for a good winter grass grow-in and every spring, the Bermuda grass wakes up a little weaker, creating a maintenance death spiral.


Planning
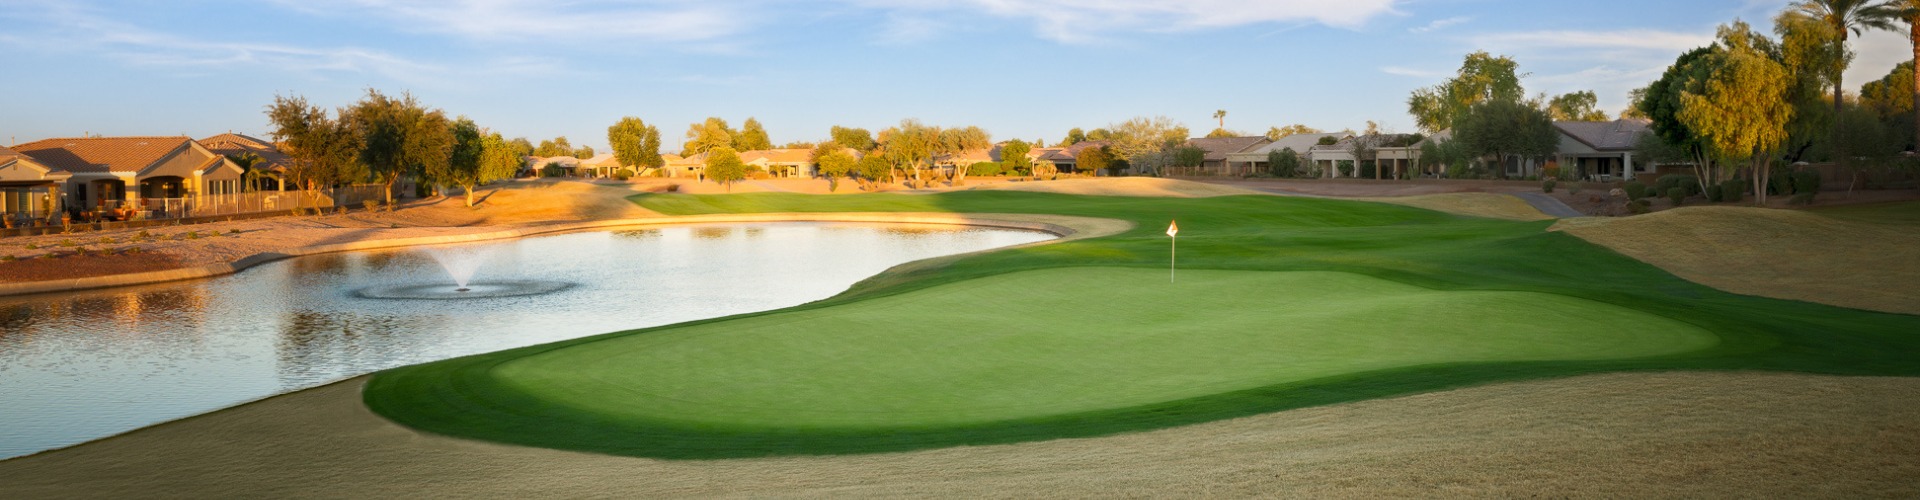
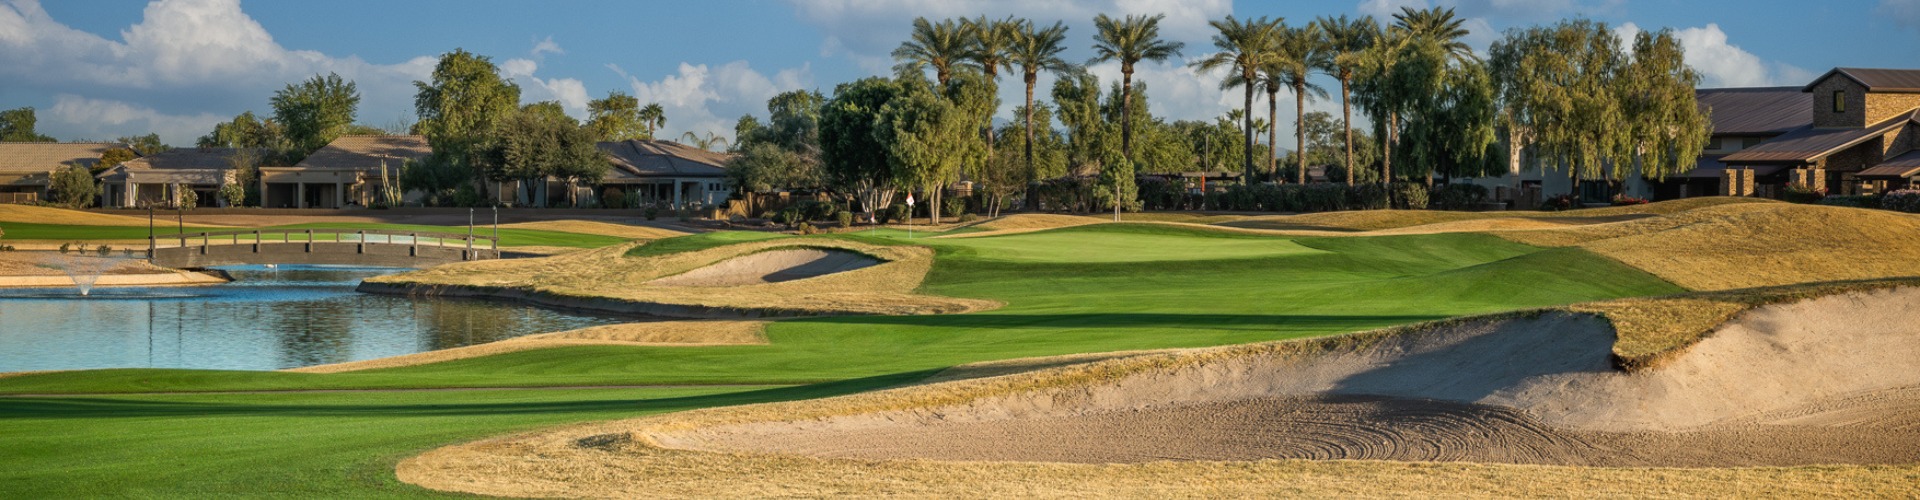
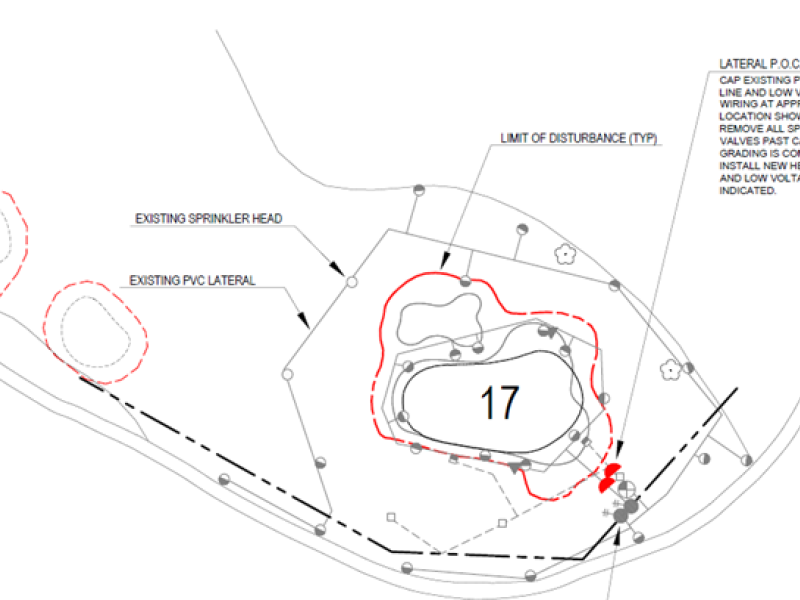
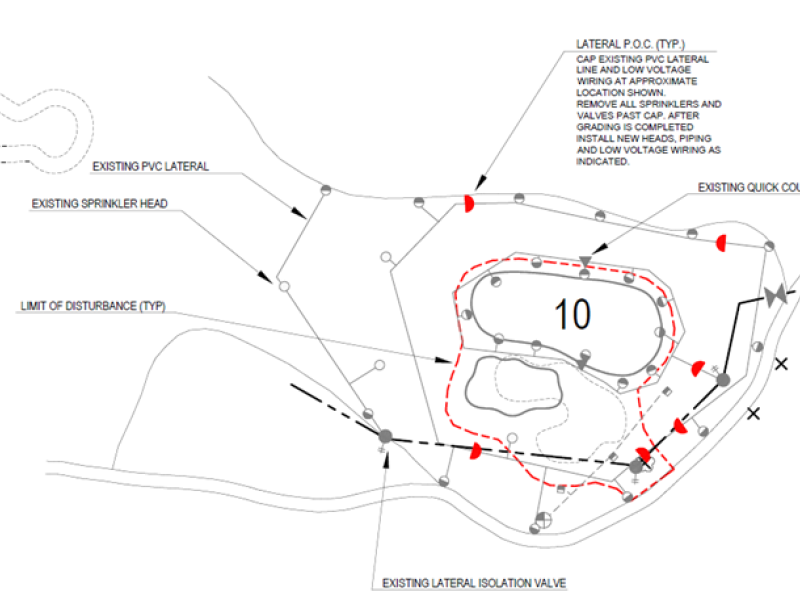
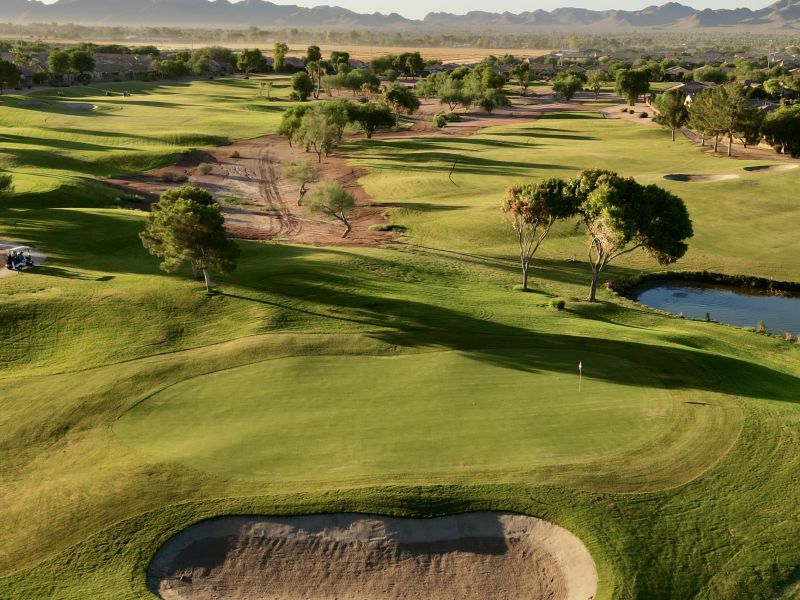
The overall shape and contour of the greens will be modified to ensure that there are expanded areas for pin locations on the greens which will greatly improve conditions and playability. With push up greens, the drainage had to occur across the surface, requiring more slope, with the new greens there will be subsurface drainage so we can soften the pinnable areas to be more in line with industry standards for putting surfaces. Changing the shape of the greens will ensure that mowers do not have tight turn radiuses. A narrow turn radius creates wear marks from tight mower turning, and the inability to alter or stagger mowing patterns.
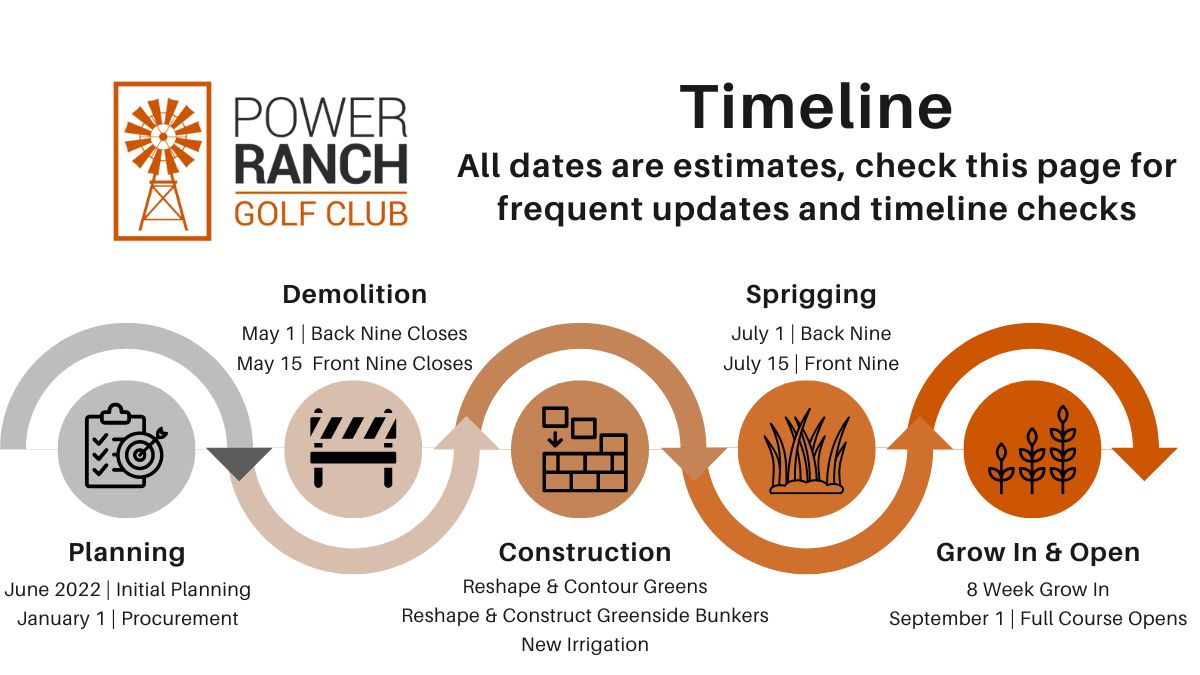
With so much uncertainty around the supply chain, we began procurement of materials in January. We received products and materials that were needed for the project to ensure that we have everything on hand for a May 1 start.
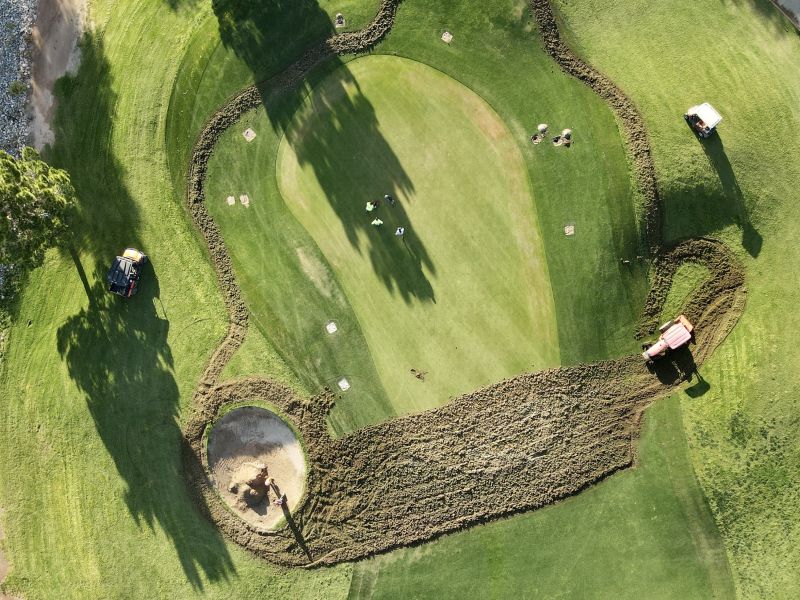
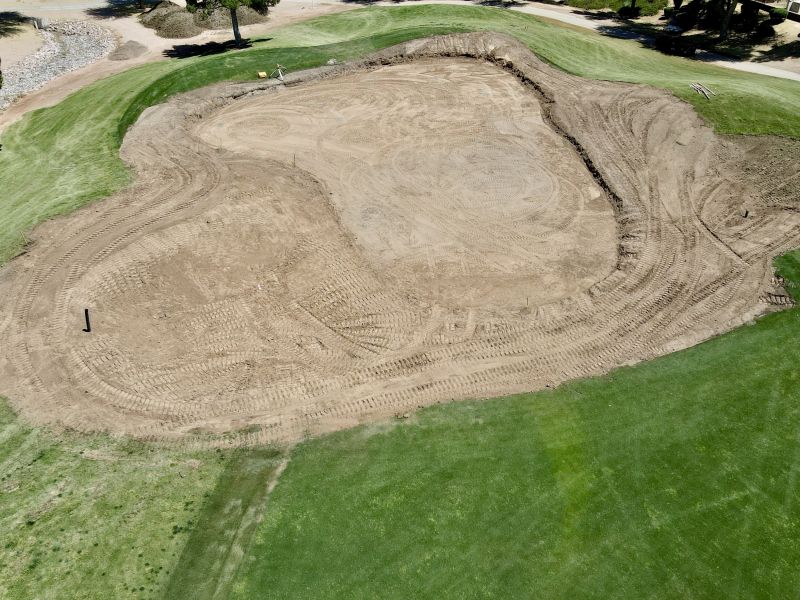


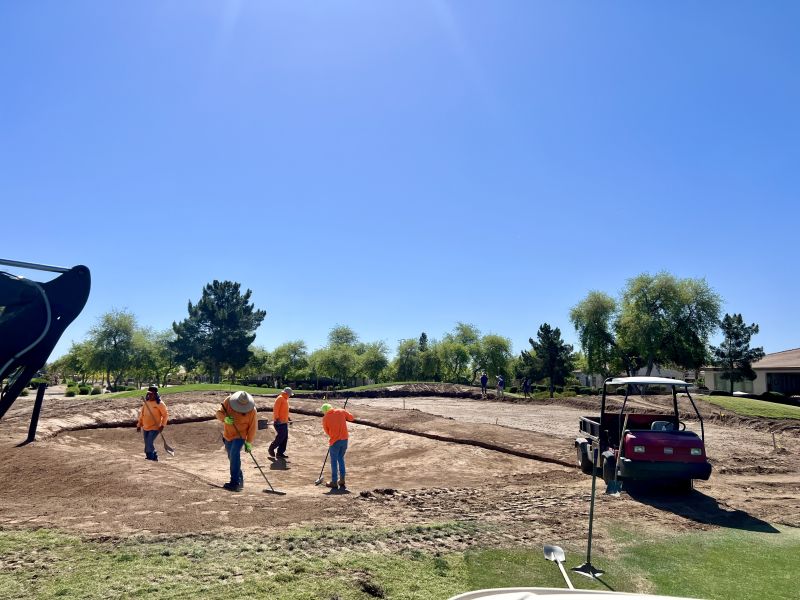
Demo and Removal of Greens
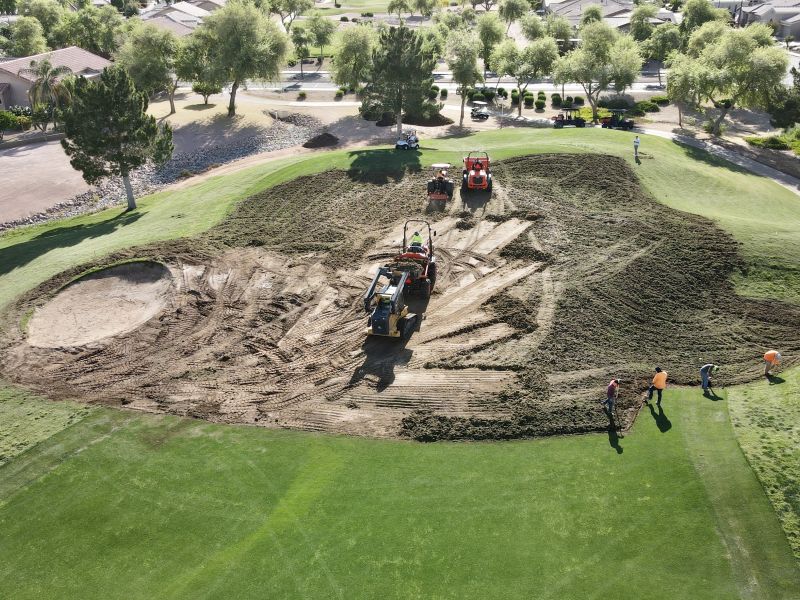
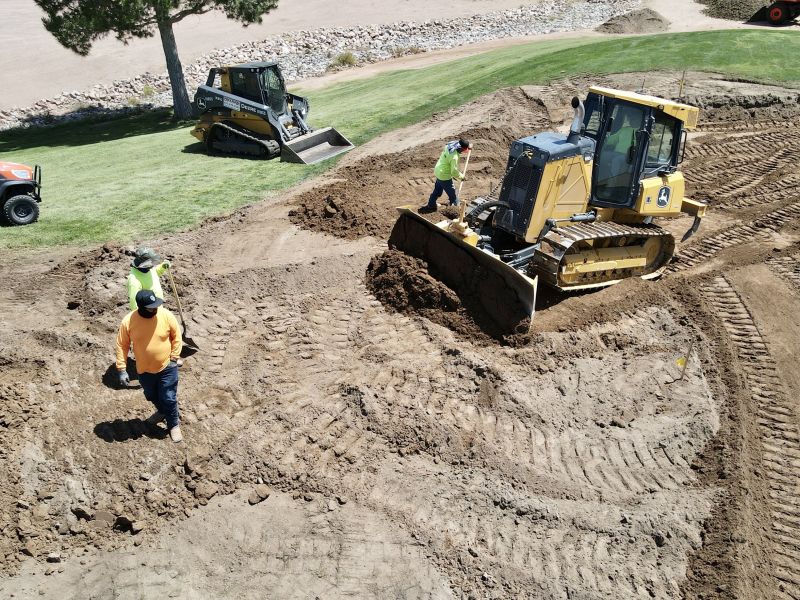
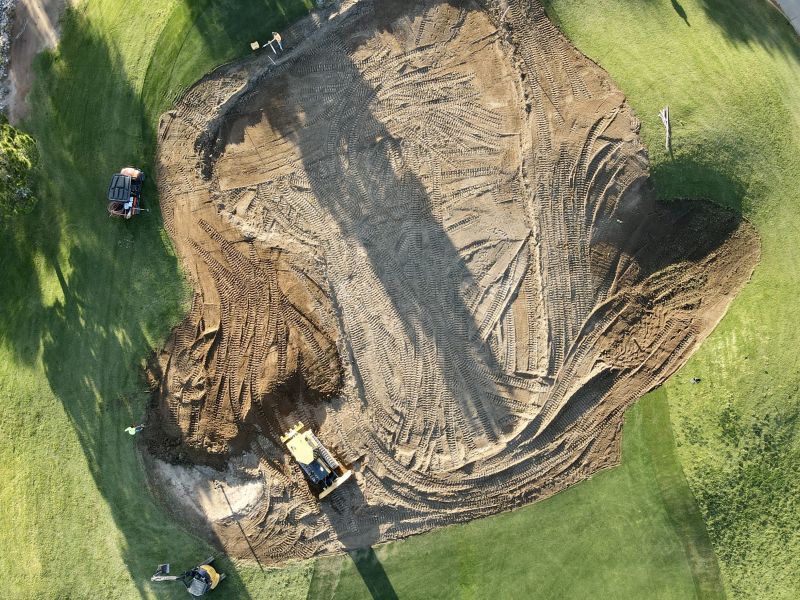
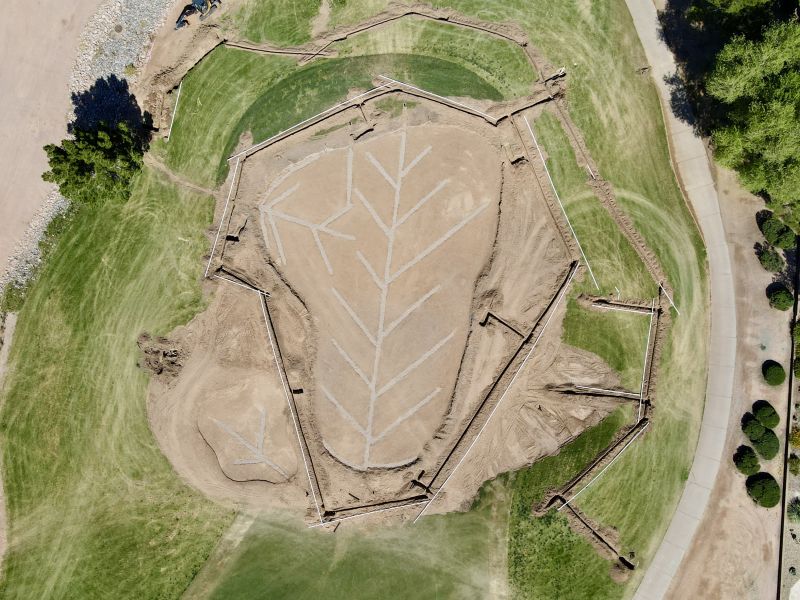
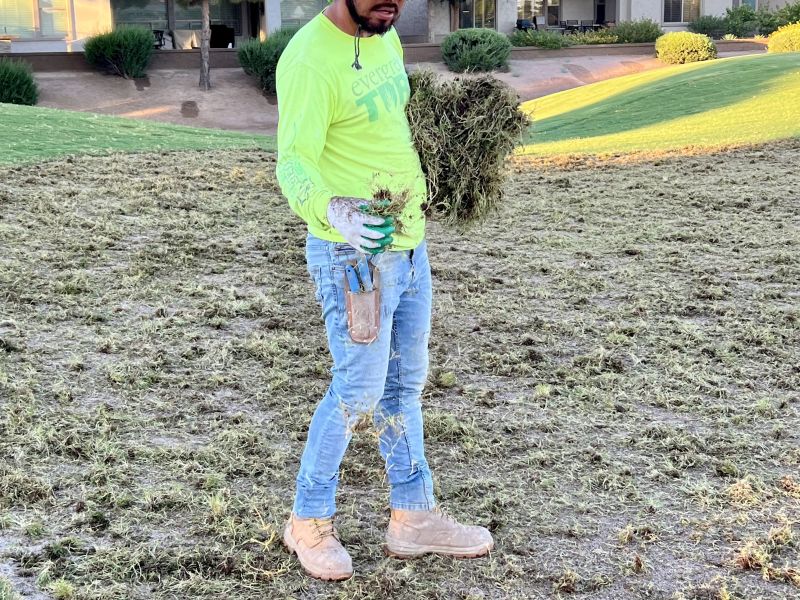
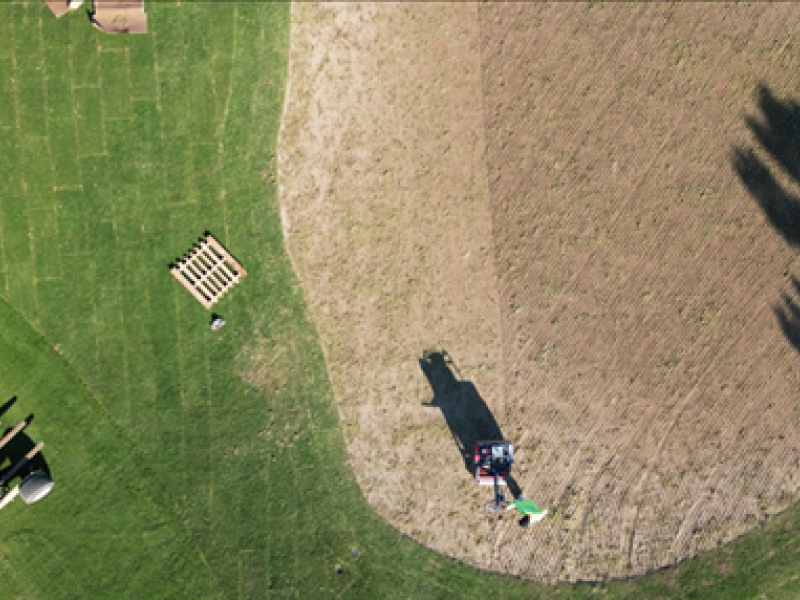
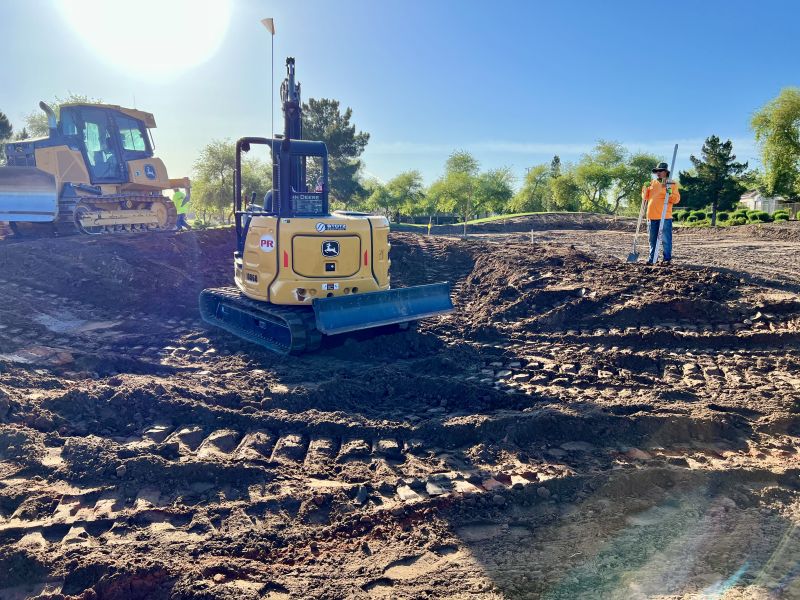
The green surfaces will be stripped and dug to a depth of 10 to 14 inches. We will effectively create a bathtub that is 14 inches deep by removing the turf, the original 4-inch sand cap and an additional 10 inches of root zone mix. This will create a lot of “waste” and dirt that needs to be either moved off the property or kept on property and used in other ways. Waste soil will be used to reshape and shallow some bunkers, expand tee box complexes, and create some other features in areas that are not in play. We will change the size and depth of several green side bunkers as well as eliminate a few fairway bunkers with the waste soil.


Green Construction
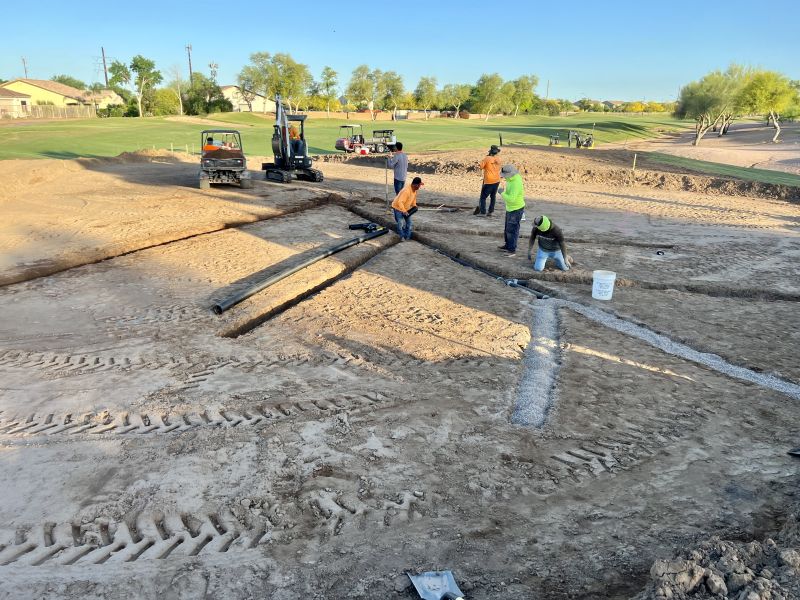
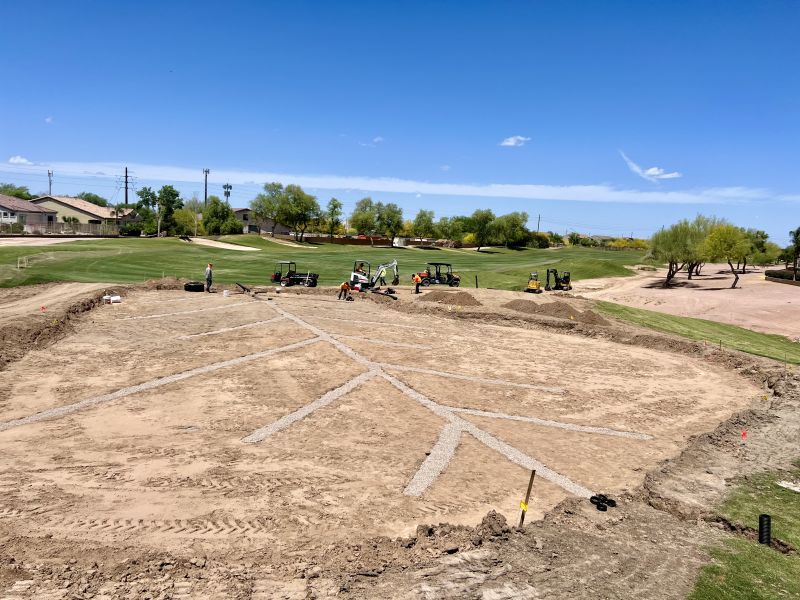
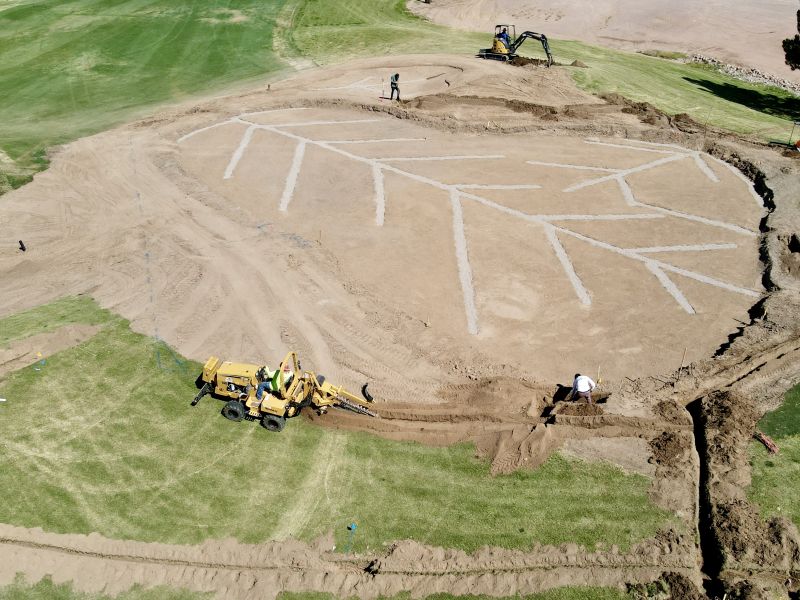
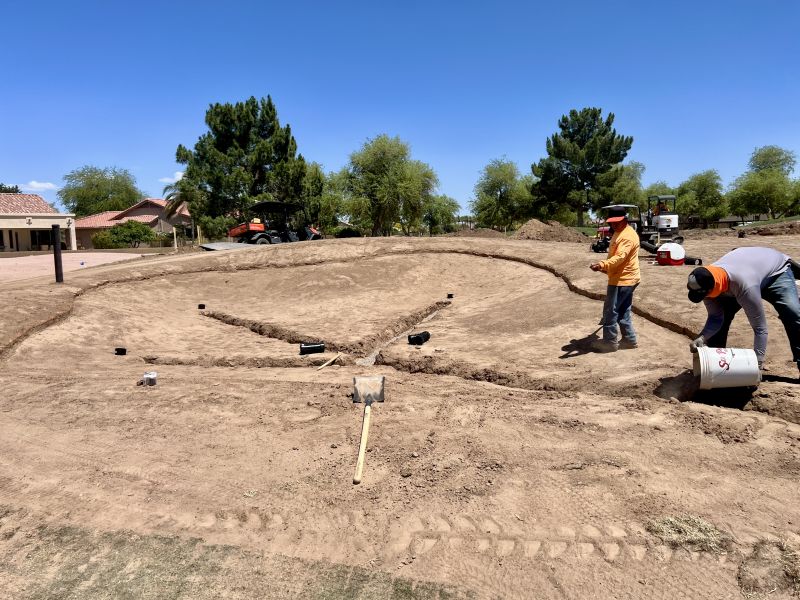
After the existing greens have been removed and general shaping has occurred, construction can begin. The layers of the USGA green construction are highlighted below.
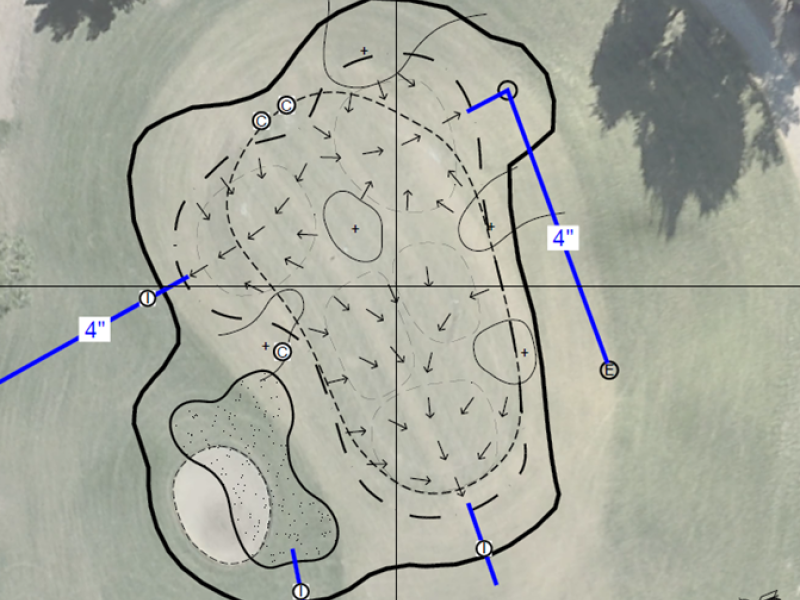
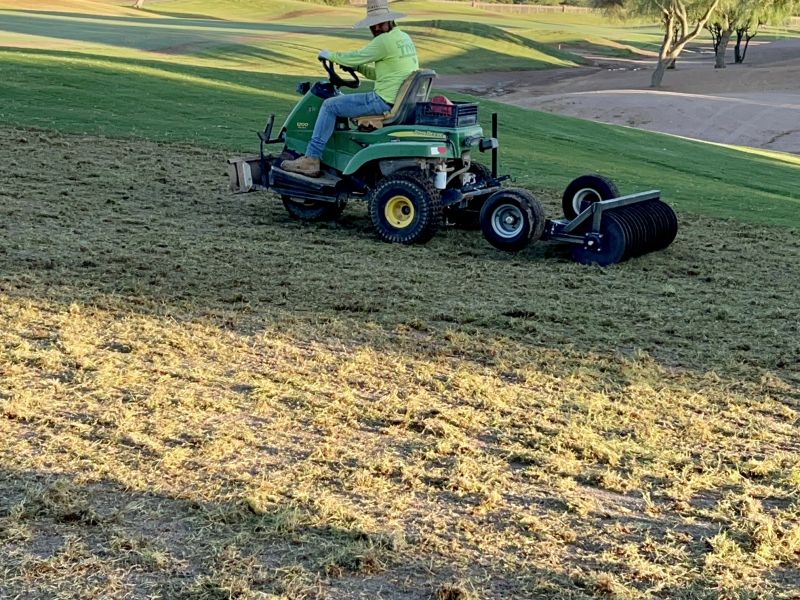
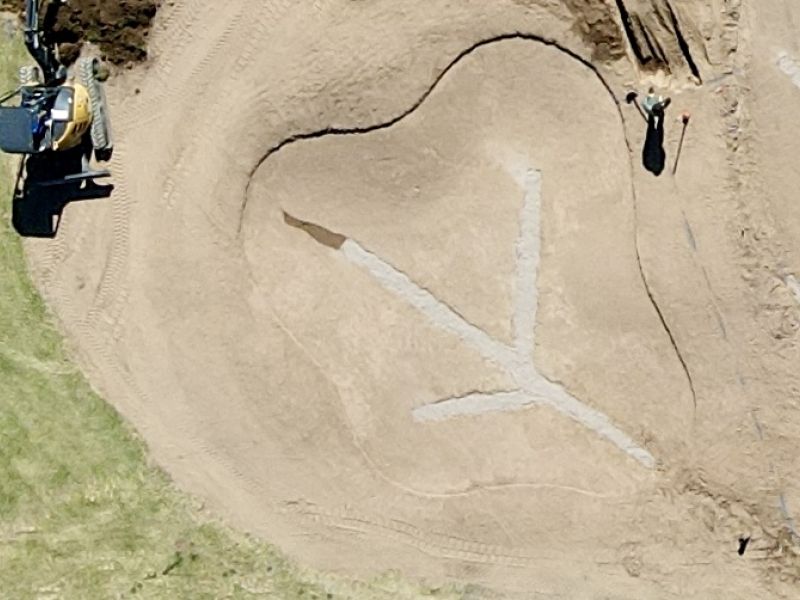
Subgrade: The subgrade (bottom of the bathtub created during demo) should conform to the general slope of the finished grade and green surface and must be thoroughly compacted to prevent settling and ensure that there are no water collecting depressions. At this time our golf course architect will work with the contractor to grid the greens to insure the tolerances are being met for the desired pinnable areas and we have good drainage.
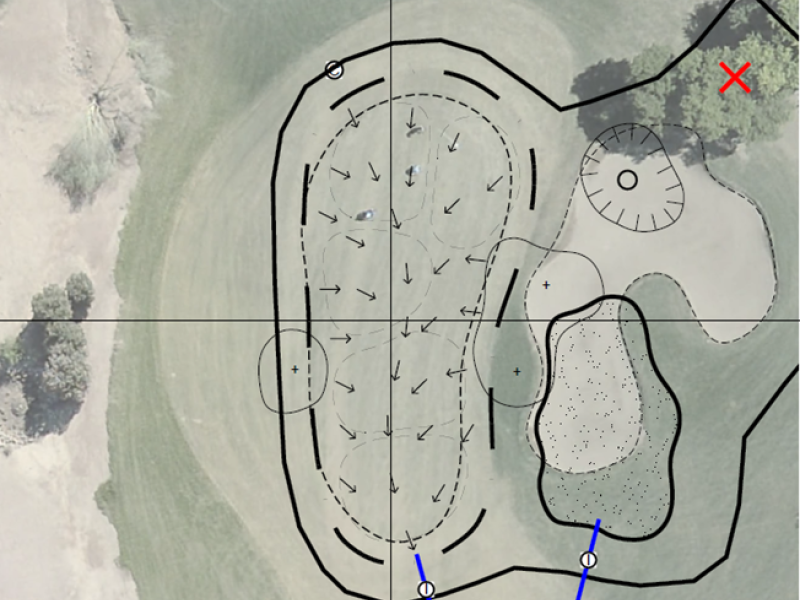
Drainage: The first picture below shows the drainage system that is required in a USGA green. The pattern of the drainage will vary and depend on the shape and elevation of the green. Typically, a herringbone pattern will be installed with a drain line every 15-20 feet to move water out of the “bathtub.” The main drain will daylight a distance from the green and during the grow-in, “nuisance drains” will exist to carry water to drywells to reduce the mess that standing water would create off turf.
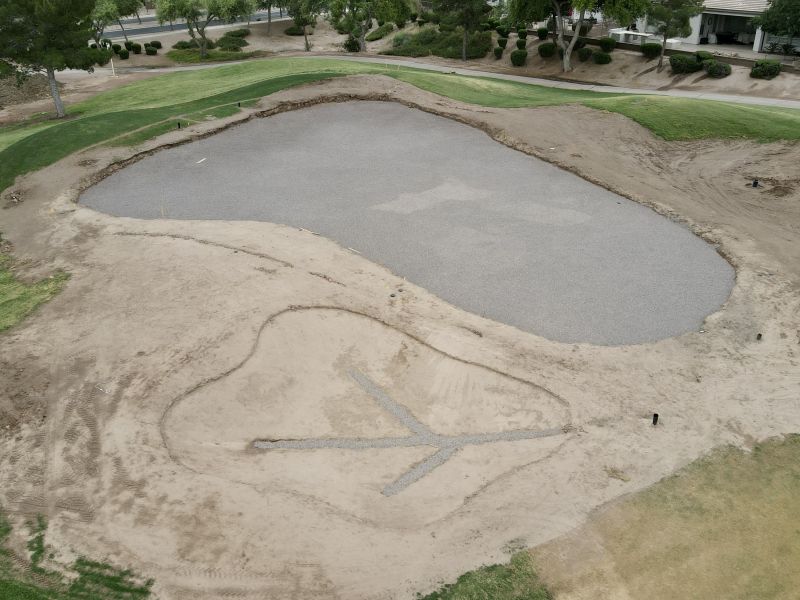
Pea Gravel and Root Zone Material: After the drainage pipes have been placed and covered with pea gravel, an additional 4 inches of pea gravel will cover the entire subgrade. Then a 10” layer of root zone material, primarily made of sand will be installed across the entire core of the green. There are several technical elements to the sand selection including grain sizing, incorporation of organic material (peat, rice hulls, finely ground tree bark, sawdust, etc.) or whether to include inorganic materials. For the Power Ranch greens, we have opted to use inorganic material calcined clays or better known as porous ceramic. Blending the porous ceramic will ensure continued porosity, drainage and help retain fertilizers. The root zone sand will be tested about every 500 tons prior to being delivered to the project to make sure we are in tolerance, and we are providing a consistent growing medium across the entire golf course. Click Here to visit for some great information on how this product enhances the root zone.
After the rootzone material is installed and water settled, the golf course contractor and our golf course architect will again grid the entire green and make any final adjustments to the surface prior to grassing. Sometimes the difference between a suitable pinnable area and one that is not is less than a half inch of sand.
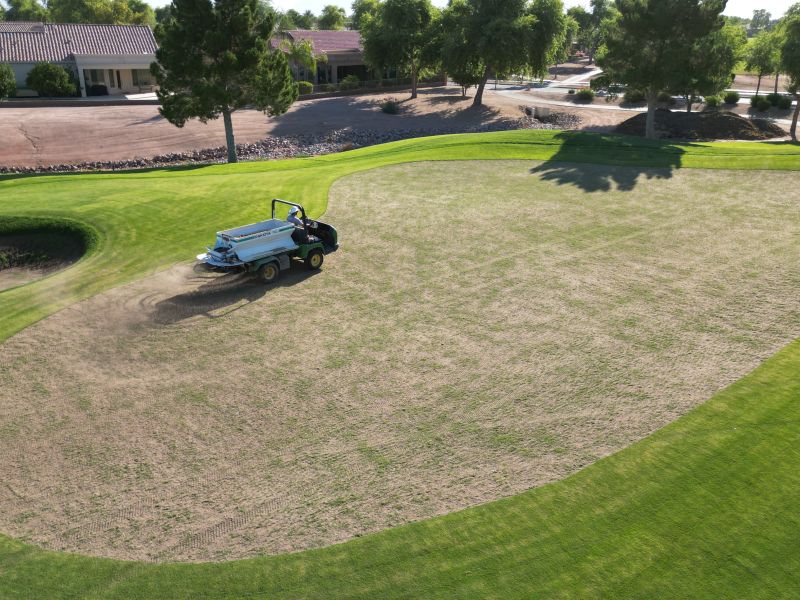
Fertilization: Prior to sprigging, we will apply starter fertilizers and products to help the stolons grow and tack into the ground. During the grow in phase, we will be continuously spoon feeding fertilizers to promote fast, healthy growth of the new Tifeagle Bermuda grass.


Sprigging
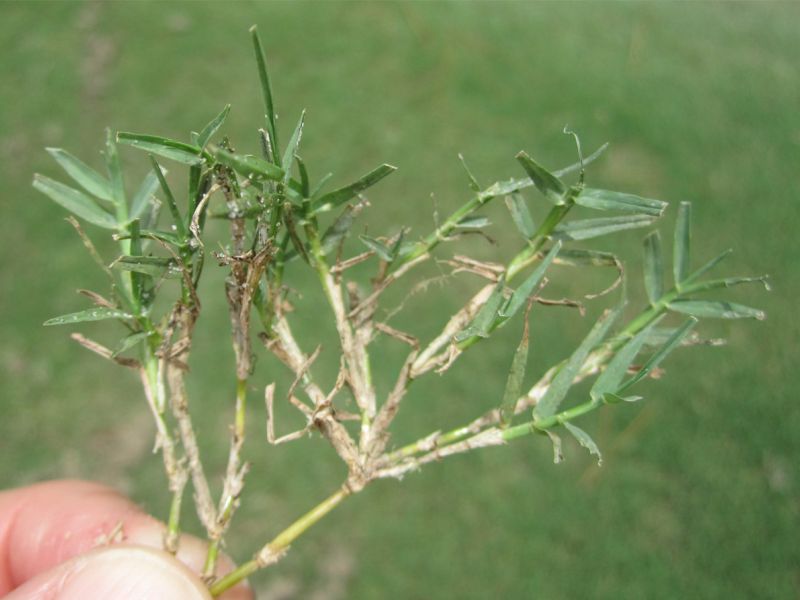
Bermuda stolons (a living part of the grass plant that is able to produce roots and leaves) are harvested then planted mechanically and by hand. Sprigging is the process of removing the stolons from mature bermudagrass stands and replanting the vegetative cuttings in a different location. Any grass that has a lateral growth habit can be established by sprigs, but the aggressive growth rate of bermudagrass makes sprigging a very popular way of establishing new turf. Sprigs are typically from 3 to 5 inches long and contain numerous nodes, or growing points, from which new roots and shoots develop. Immediately after planting, sprigs should be tamped or rolled with 1/3 of the sprig remaining above the surface.


Grow In Process
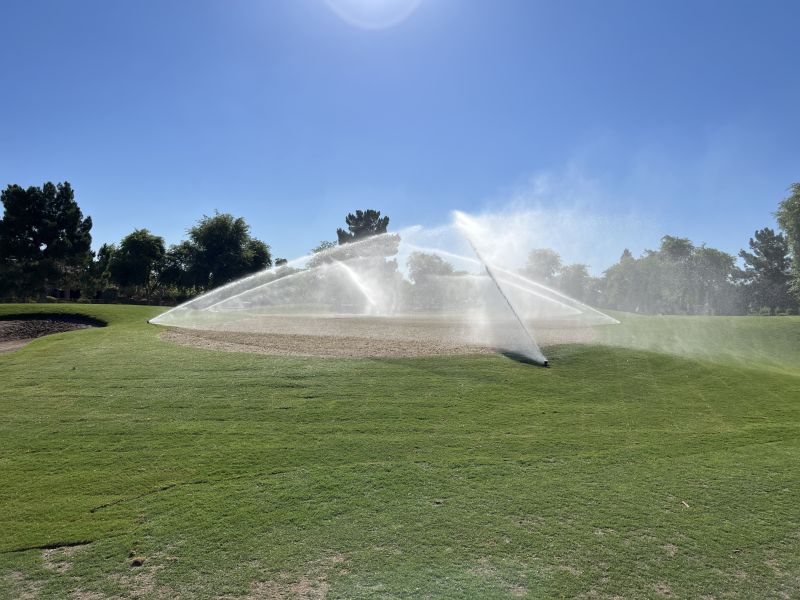
The maintenance crew will continue fertilizing the greens weekly and water them each day. The greens will be rolled, and top-dressed every three to four days. The sprigs need to tack and begin growing before the green can be mowed for the first time. The greens will be mowed for the first time after two weeks, and then every four days for the next three weeks.
As exciting as it is to have new greens, golfers will notice a difference in how the ball will react on the approach shots. The new greens will play more firmly for approximately the first year, after that, the golf balls will react more to what golfers are accustomed to.
For an in-depth understanding of the entire process, please visit this USGA site.
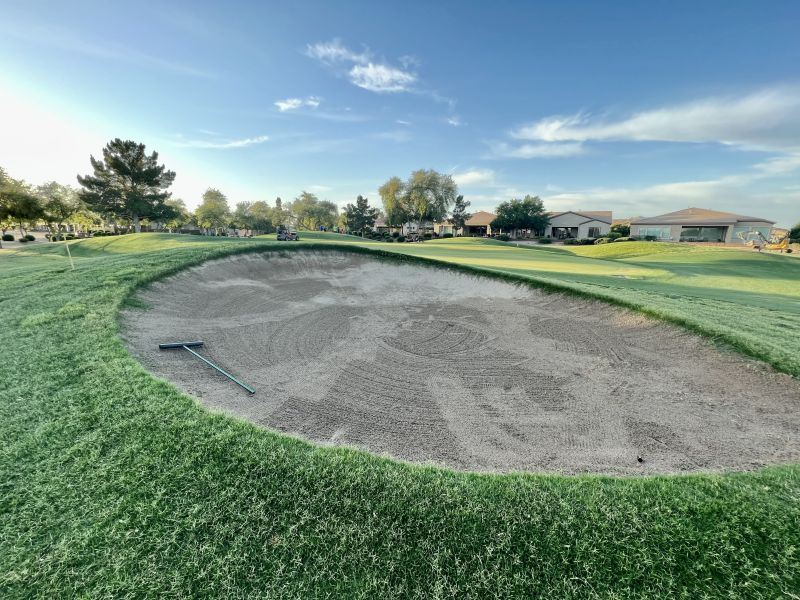


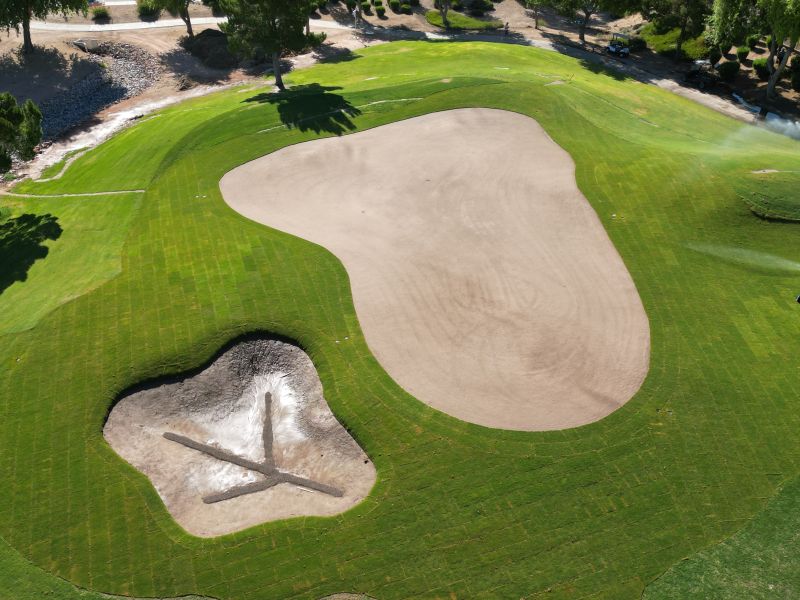
Greenside Bunker Rehab
All of the greenside bunkers will be rebuilt as part of the greens renovation. This has allowed us to build the greens correctly without the bunkers driving the size and shape of the greens. As part of the renovation some bunkers will move, some will remain, some may get a little bigger and a bunker or two may be removed. All bunker depths will take into consideration our golfers and the faces of the bunkers will be built to allow the sand to stay in place. The new bunkers will include all new sub-surface drainage and new bunker sand.
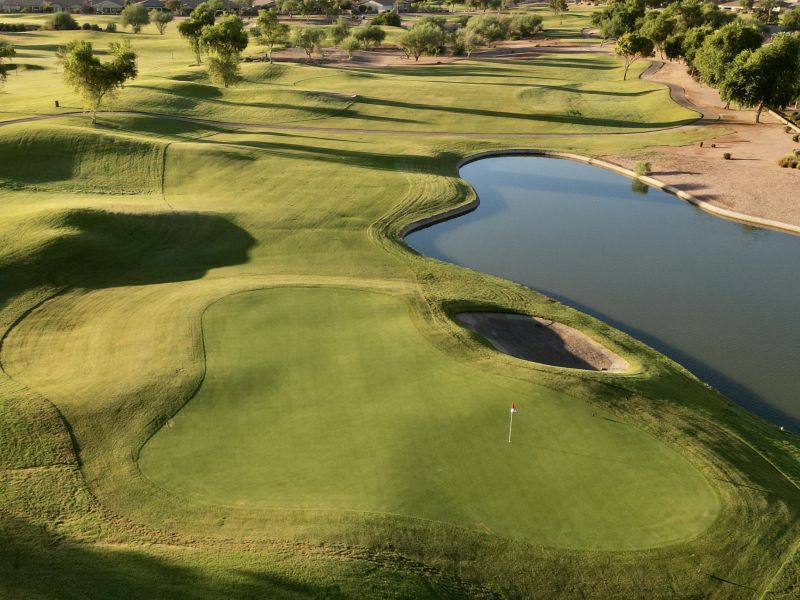
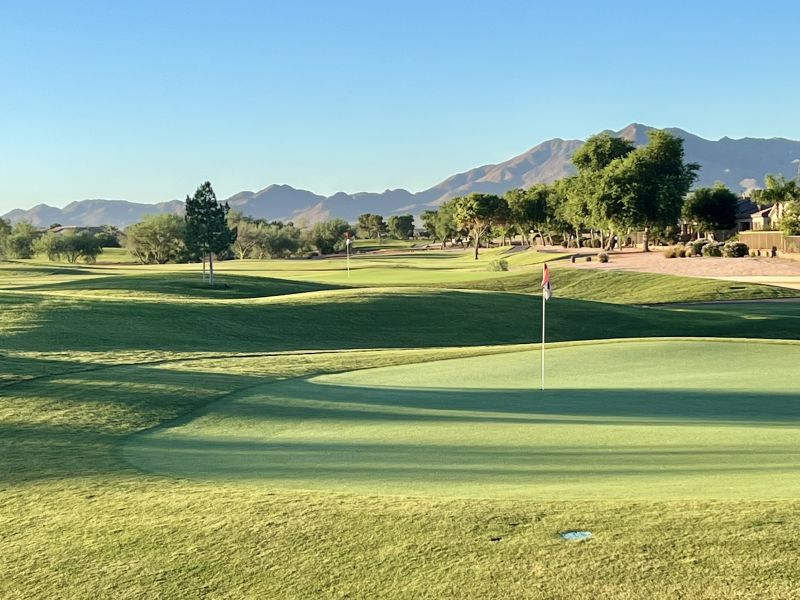


Final Product!
Professional Firms
Golf Course Designer: We are using the design firm of Gary Brawley Design. Gary is a member of the American Society of Golf Course Architects and has been working in the golf industry in Arizona since 1986. Some of the projects in our area that he has been involved with include both Whirlwind Golf Courses, Seville Golf and Country Club, Alta Mesa Country Club and Trilogy Golf Course at Vistancia. He has the necessary skills, experiences, and qualifications to design the new green complexes. When designing greens, it is critical that the new design fixes some of our current issues while not dramatically changing the look and feel of the hole. We have had several on-site meetings and he has created excellent plans with elevations, irrigation amendments, bunker reconfiguration, and approach and collar tie-ins. Gary has committed to us to be on-site several days a week to make sure the design intent is being achieved.
Construction Firm: We have selected National Turf, Inc. to do the construction work on this project. We have used them before (Power Ranch Pond embankment project) in March of 2022. We also used National Turf to replace our putting green in the Summer of 2022. The same techniques, and methods will be used for the rest of the greens on the golf course. Gary Brawley and National Turf have worked together on many other projects and their shared vision and partnership in seeing this project through has been evident even in the early planning stages.
Irrigation Consultant: Marvin Mills, a golf industry irrigation expert to consult with and review the new greens irrigation design.